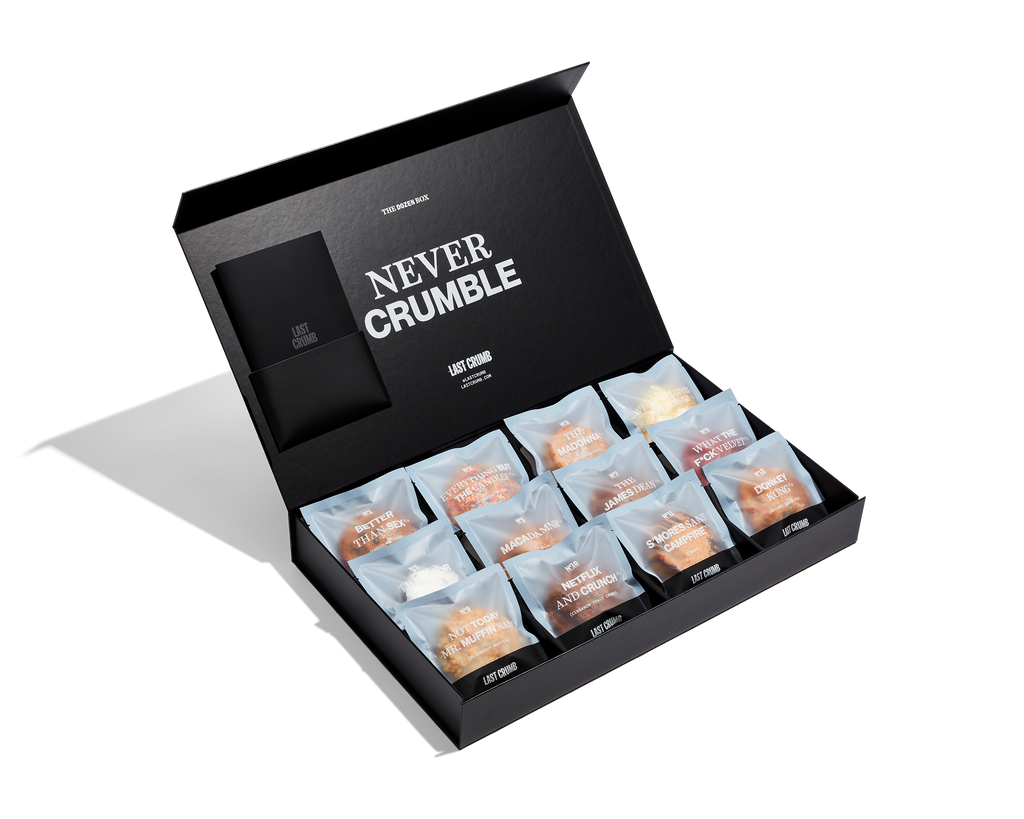
DAMN DELICIOUS AND WILDLY HANDSOME COOKIES
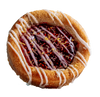
RASPBERRY BERET
Whats the best flavor of cheesecake? Head Baker loves a traditional NY Style Cheesecake. Add sweet, tart, fresh raspberries for the best version possible.
Shop The Threesome Sessions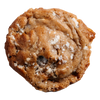
DONKEY KONG
Marshmallows, thick. Pudding, extra-thick. Ivory white chocolate. Crispy (never soggy) vanilla wafers. Banana. Like, the actual banana not the fake kind that our chemists will have to lie about years down the road. We don’t even have chemists.
Shop The Core Collection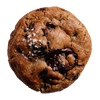
BETTER THAN SEX
Three variations of chocolate: dark chocolate, rich chocolate and milk chocolate. A mix of both chips and chunks for textural variation. Caramelized butter based dough with the slightest hint of coffee to leave your taste buds guessing. Maldon sea salt, just a pinch, to make you salivate and balance the sweetness.
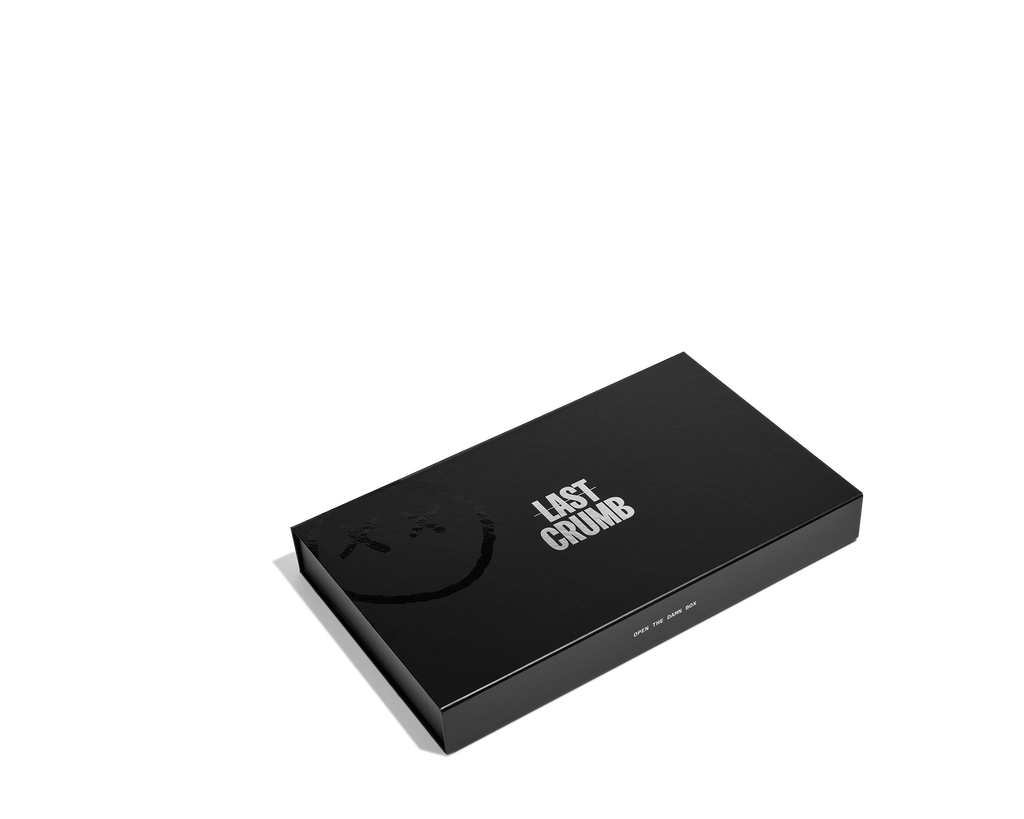
Shop Death By ChocolateOPEN THE DAMN BOX
Guilty Of Destroying Mediocrity


“The cookies also make for an amazing holiday gift, or even a holiday activity for your next Christmas cookie party, as the cookies are big and decadent enough to be cut and shared.”
“As far as cookies go, this is the most luxurious brand you’ll find on the market. Known for flavors like ‘Better Than Sex’ made with three different kinds of chocolate and a molten chocolate ‘The Floor is Lava’ cookie, they are sized perfectly for indulging solo or sharing with a crowd.”

“Overall, these cookies are truly on a higher level than any other cookie I’ve ever tried. They include flavor duos that are just really unique and they don’t fall back on artificial flavorings.”
